


How to Create Rib Stitch
Stitches | 1 min read time
Tutorial Overview
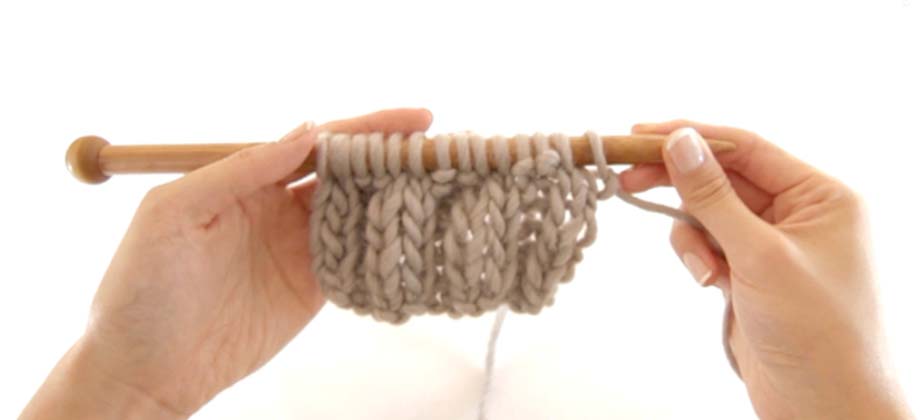
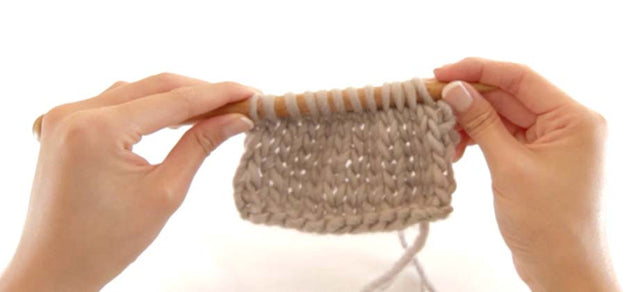
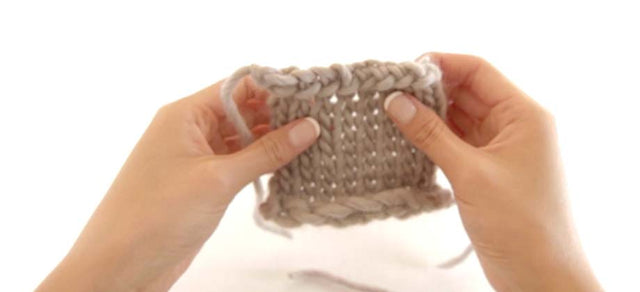
Rib stitch is a textured vertical stripe stitch pattern and is created by alternating knit and purl stitches in the same row, then knitting the same stitch in the next row. This forms columns of knit and purl stitches, and is often used for cuffs or brims. In this video we will show you how to create double rib stitch (k2, p2).
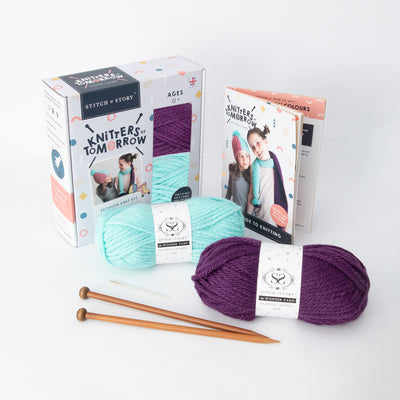
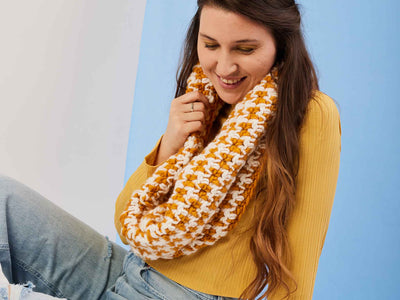
This stitch is used in the Freya Fingerless Gloves Knitting Kit, while the single rib stitch (k1, p1) is used in the Vale Scarf Knitting Kit.
Watch
Step-by-step guide
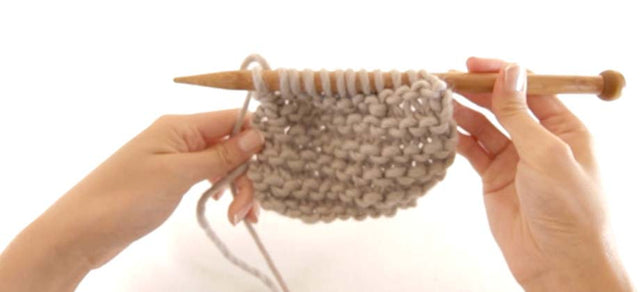
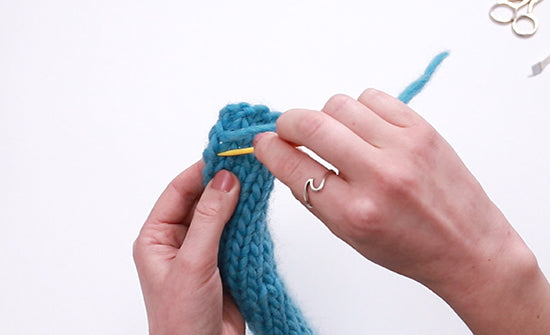
This pattern requires you to knit and purl in a continuous pattern all on the same row.
TIP: Remember to bring your working yarn backwards for knit stitch and forwards for purl stitch or else you’ll tangle your work.
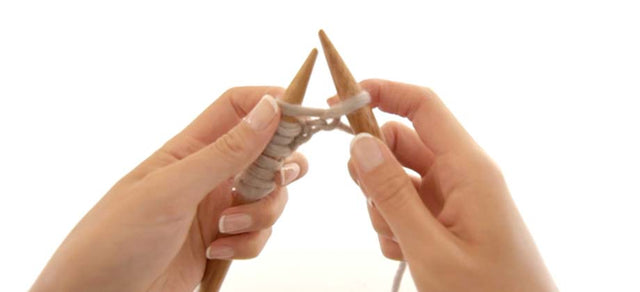
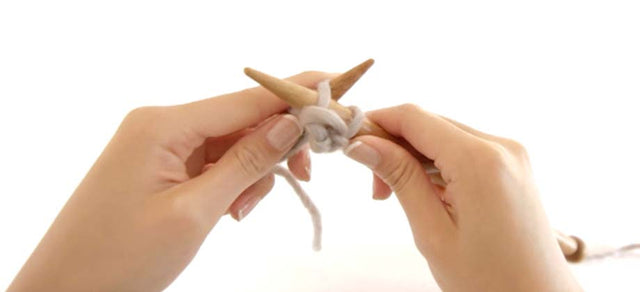
Step 1:
To start, knit two stitches.
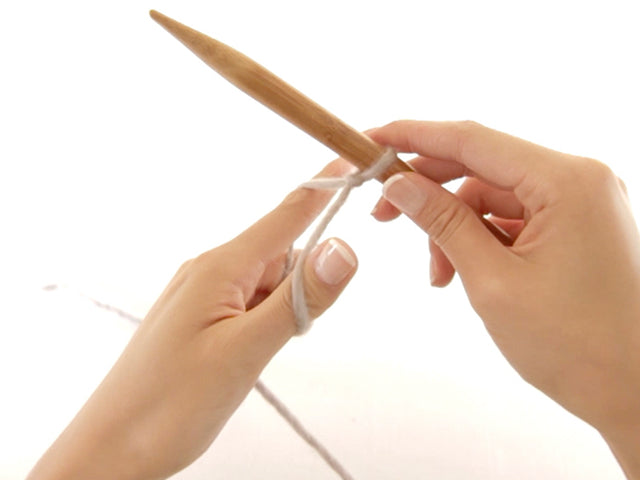
Step 2:
Bring your working yarn forward and purl two stitches.
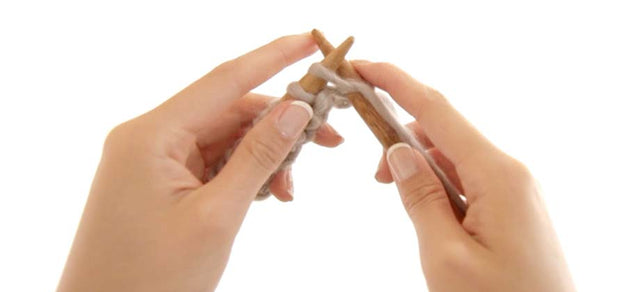
Step 3:
Bring your yarn backwards and knit two stitches.
Step 4:
Continue repeating steps 2-3 until you have finished the row.
Step 5:
Repeat these steps row-by-row. Follow the sequence of stitches so that if the stitch below looks like a ‘V’, you need to knit one stitch. If the stitch below looks like a bar, you need to purl one stitch.
< See all Knitting Video Tutorials
How to Create a Slip Knot
Get Started | 1 min read time
How to Create a Two Needle Cast On (co)
Get Started | 1 min read time
How to Create a Long Tail Cast On (co)
Get Started | 1 min read time
How to Create a Knit Stitch (k)
Get Started | 1 min read time
How to Create a Purl Stitch (p)
Get Started | 1 min read time
How to Create Garter Stitch
Stitches | 1 min read time
How to Create Stocking Stitch
Stitches | 1 min read time
How to Cast Off / Bind Off (bo)
Finish Off | 1 min read time
How to Weave in Loose Ends (On the Right Side)
Finish Off | 1 min read time