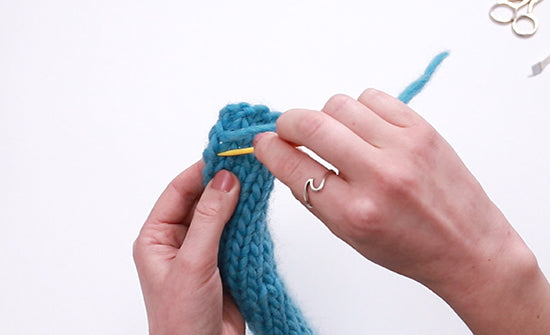
How to Create a Purl Stitch (p)
Get Started | 1 min read time
Tutorial Overview
Abbreviation: p
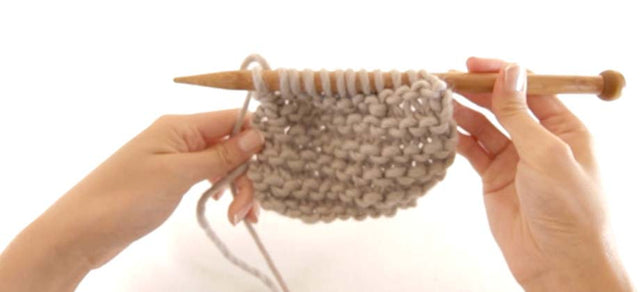
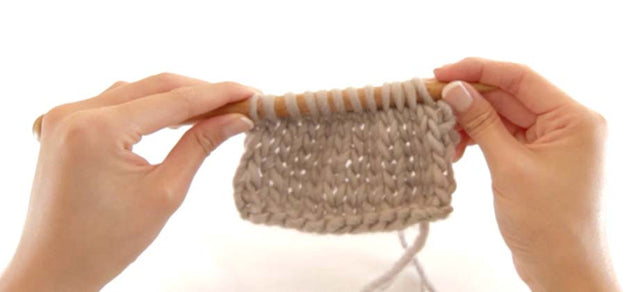
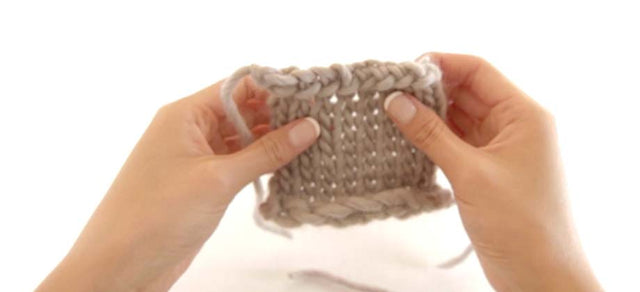
The purl stitch is the second basic stitch to learn. Combined with knit stitches it creates various stitch patterns. A stitch that is purled will have a bump as its base. In this video we will show you how to create a purl stitch.
Watch
Step-by-step guide
Step 1:
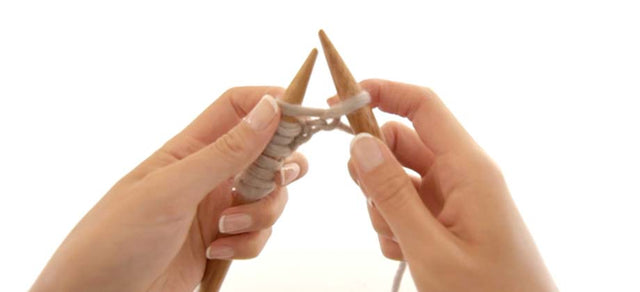
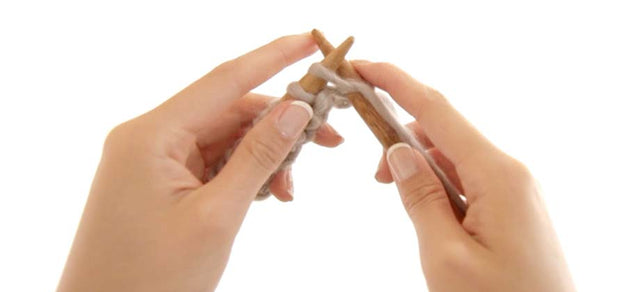
Insert right needle downwards through the front of the first stitch. Ensure right needle is in the front.

Step 2:
With yarn in front, wrap it anti-clockwise around tip of right needle

Step 3:
With tip of right needle, draw a loop by going up through and out of the left stitch, bringing right needle away from you.

Step 4:
Slide the left stitch off its needle. Tighten yarn. You have created your first purl stitch on your right needle.

Step 5:
Repeat 1-4 until row is finished.
Step 6:
To start a new row, hold work in your left hand and repeat steps, ensuring working yarn is at the front.
< See all Knitting Video Tutorials
