


How to Create a Knit Stitch (k)
Get Started | 1 min read time
Tutorial Overview
Abbreviation: k
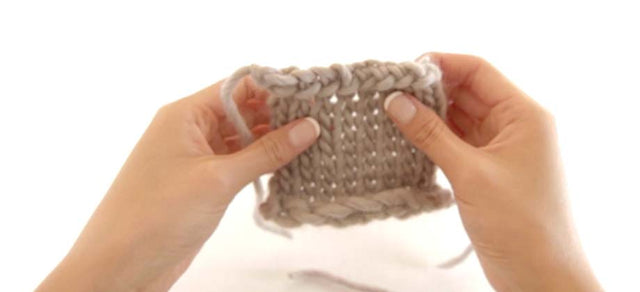
The knit stitch is the first basic stitch to learn and used in all patterns. A stitch that has been knitted will have a ‘V’ at its base. In this video we will show you how to create a knit stitch.
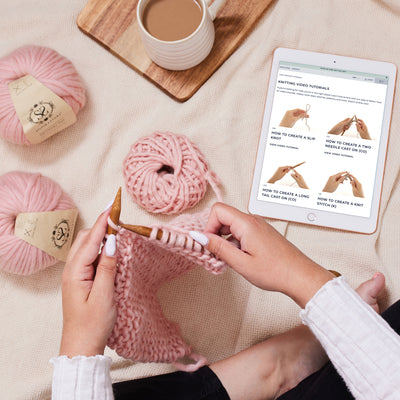
Watch

Step-by-step guide
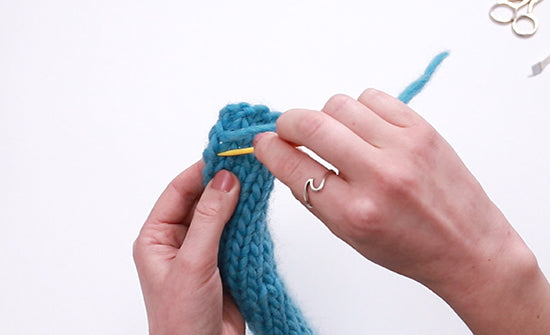
Tip: Ensure when working knit stitches, working yarn is always at the back of your work.
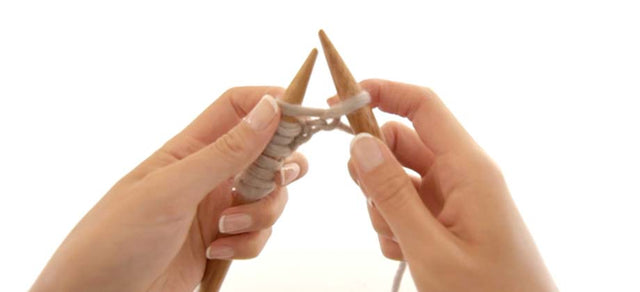
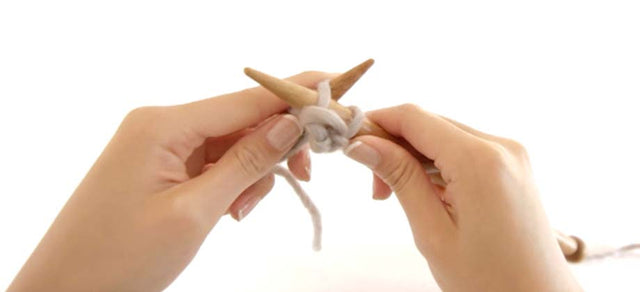
Step 1:
Insert right needle upwards through the front of the first stitch. Ensure right needle is behind left needle.

Step 2:
With yarn behind needles, wrap it around tip of the right needle anti-clockwise.

Step 3:
With tip of right needle, draw a loop by going down through and out of the left stitch, bringing the right needle towards you.

Step 4:
Bring right needle up, and slide the left stitch off its needle. Tighten yarn. You have created your first knit stitch on your right needle.

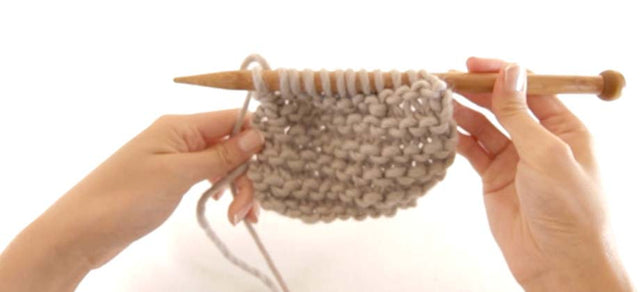
Step 5:
Repeat 1-4 until row is finished.
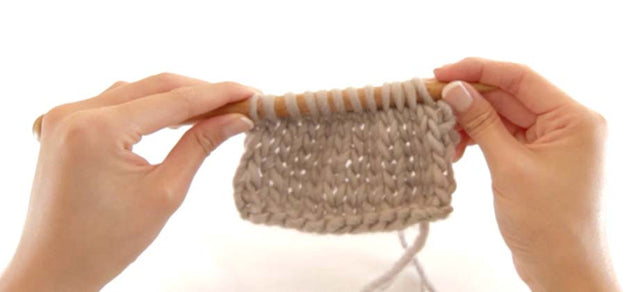
Step 6:
To start a new row, hold work in your left hand and repeat steps, ensuring working yarn is at the back.
And that’s how you create a knit stitch!
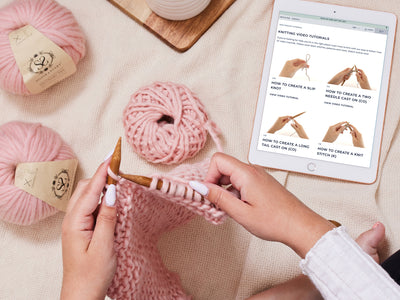
< See all Knitting Video Tutorials
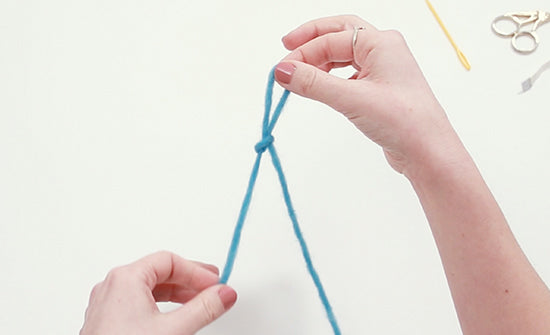
How to Create a Slip Knot
Get Started | 1 min read time
How to Create a Two Needle Cast On (co)
Get Started | 1 min read time
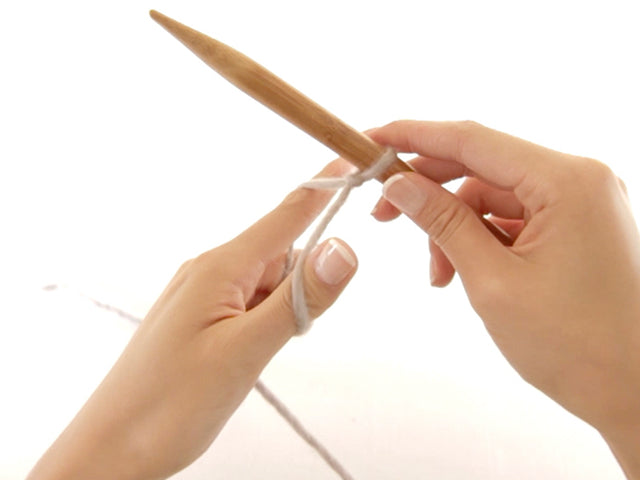
How to Create a Long Tail Cast On (co)
Get Started | 1 min read time
How to Create a Purl Stitch (p)
Get Started | 1 min read time
How to Create Garter Stitch
Stitches | 1 min read time
How to Create Stocking Stitch
Stitches | 1 min read time
How to Cast Off / Bind Off (bo)
Finish Off | 1 min read time
How to Weave in Loose Ends (On the Right Side)
Finish Off | 1 min read time