


How to Create a Slip Knot
Get Started | 1 min read time
Tutorial Overview
A slip knot is the first step in most crochet projects. In this video we will show you how to create a slip knot.
Watch
Step-by-step guide
Step 1:
Starting with the tail end of your yarn, pull about 15cm from the ball.

Step 2:
Make a loop.
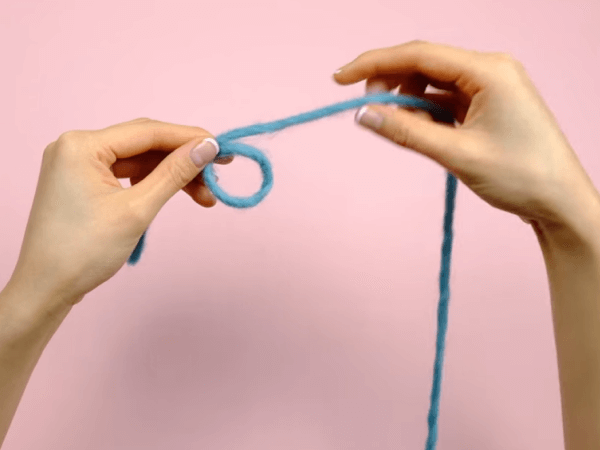
Step 3:
Place the yarn at the back of your loop.

Step 4:
Use your fingers to pull through a loop and tighten.

Step 5:
Slip the loop onto your hook and with the yarn that’s leading to the ball pull and tighten.

And that’s how you make a slip knot in crochet!
< See all Crochet Video Tutorials

How to Create a Foundation Chain
Get Started | 1 min read time

How to Count Chains
Get Started | 1 min read time

How to Single Crochet (US terminology)
Stitches | 1 min read time

How to Half Double Crochet (US terminology)
Stitches | 1 min read time

How to Double Crochet (US terminology)
Stitches | 1 min read time

How to Treble Crochet (US terminology)
Stitches | 1 min read time

How to Slip Stitch (ss)
Stitches | 1 min read time

How to Decrease Using sc2tog (US terminology)
Stitches | 1 min read time