


How to Create Raised Double Crochet (US terminology)
Stitches | 1 min read time
Tutorial Overview
In this tutorial we'll show you how to create a raised double crochet stitch (US terminology / raised treble crochet in UK terminology). Raised double crochet can be worked either through the front of a stitch, or through the back of a stitch. Both methods create a lovely 3D texture on your crochet fabric.
Watch
Step-by-step guide
Let's start by making a raised double crochet on the front side of the fabric.
Step 1:
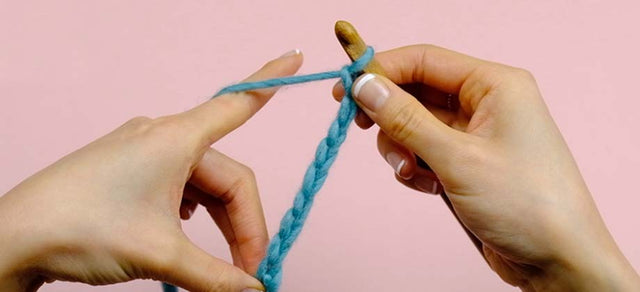
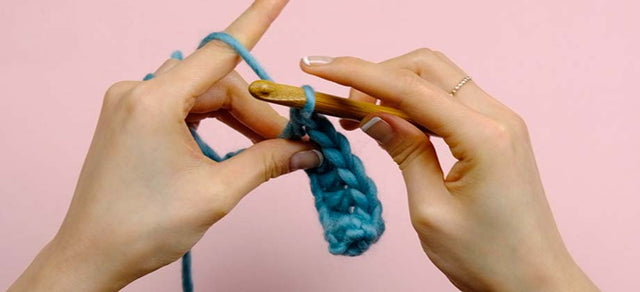
First, wrap your yarn around the hook.
Step 2:
Then insert your hook from right to left around the stem of the stitch in the round or row below.
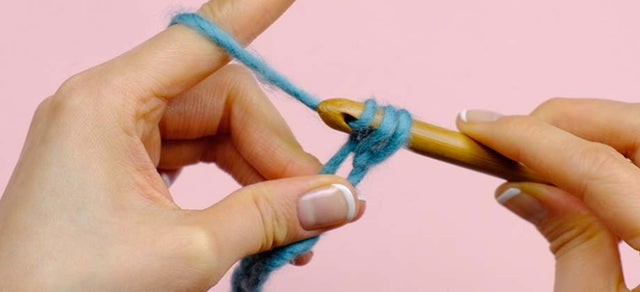
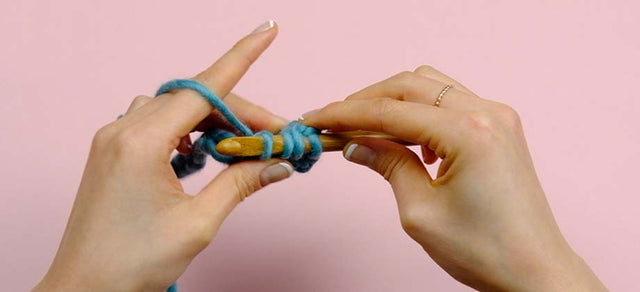
Step 3:
Yarn over and pull through. You will have 3 loops on your hook.
Step 4:
Yarn over and pull through 2 loops.
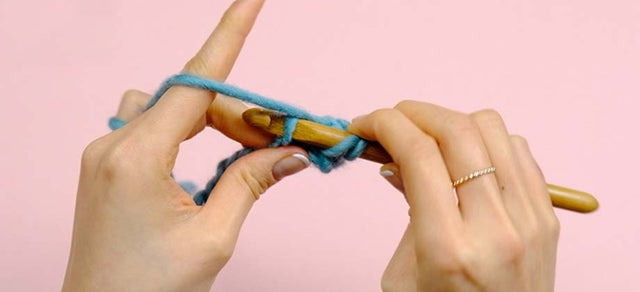
Step 5:
Yarn over again and pull through the remaining 2 loops to complete your raised double crochet stitch.
Repeat these steps to create further raised double crochet stitches through the front.
In the next row, we'll work raised double crochet stitches through the back of our crochet piece.
Step 1:
Start by wrapping your yarn around the hook.
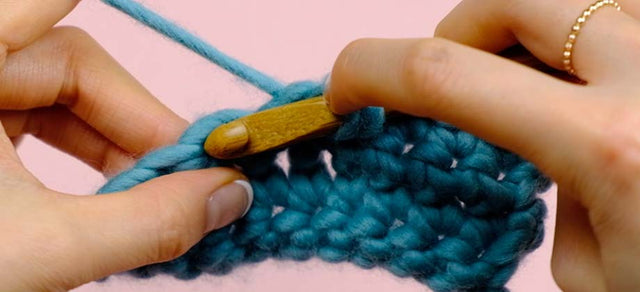
Step 2:
Then, from behind your fabric, insert the hook from right to left around the stem of the stitch in the round or row below.
Step 3:
Yarn over and pull through. You will have 3 loops on your hook.
Step 4:
Yarn over and pull through 2 loops.
Step 5:
Yarn over again and pull through the remaining 2 loops to complete your raised double crochet stitch.
Repeat these steps to create further raised double crochet stitches through the back.
< See all Crochet Video Tutorials
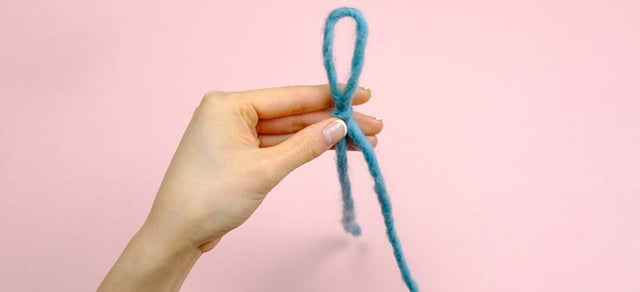
How to Create a Slip Knot
Get Started | 1 min read time
How to Create a Foundation Chain
Get Started | 1 min read time
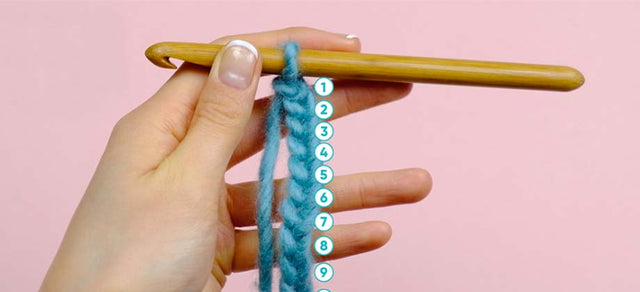
How to Count Chains
Get Started | 1 min read time
How to Single Crochet (US terminology)
Stitches | 1 min read time
How to Half Double Crochet (US terminology)
Stitches | 1 min read time
How to Double Crochet (US terminology)
Stitches | 1 min read time
How to Treble Crochet (US terminology)
Stitches | 1 min read time

How to Slip Stitch (ss)
Stitches | 1 min read time
How to Decrease Using sc2tog (US terminology)
Stitches | 1 min read time